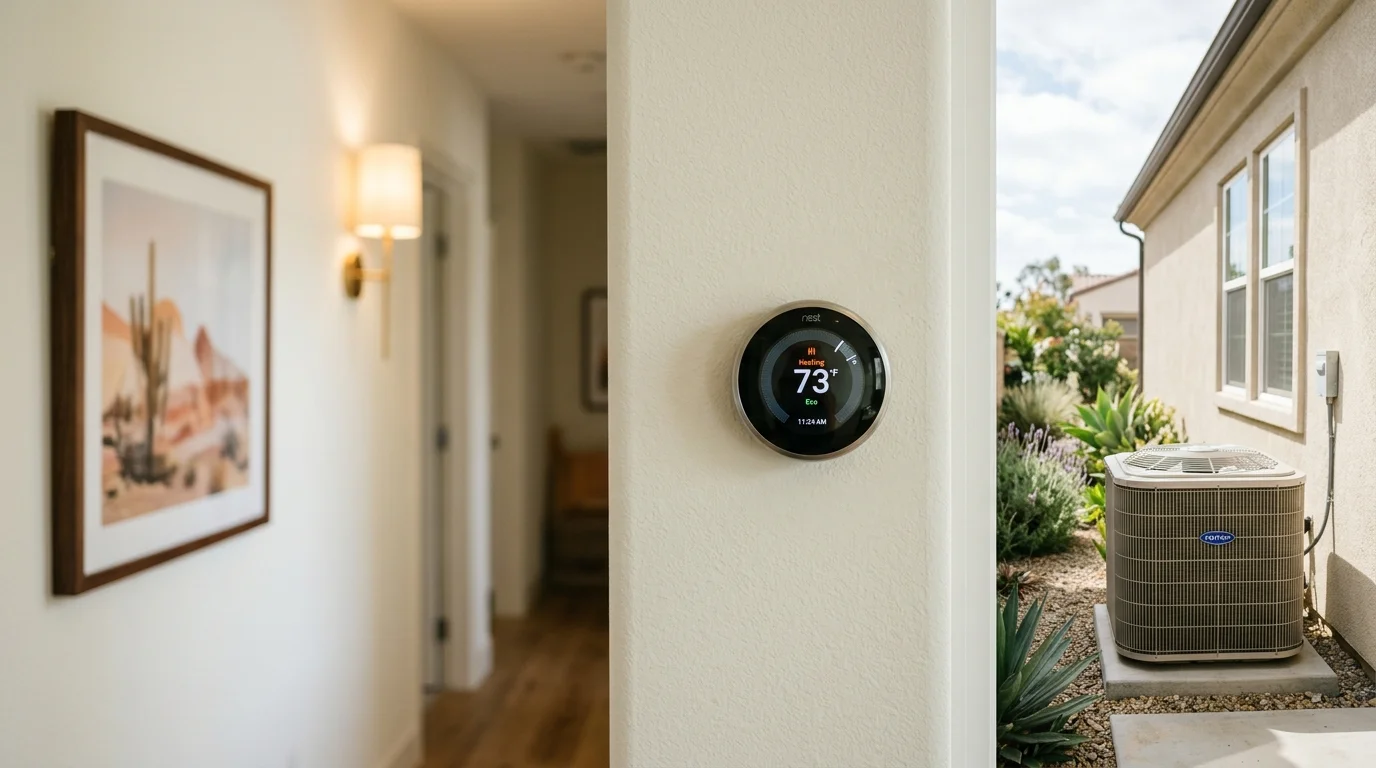
A heat-pump-compatible smart thermostat starts with equipment matching, not a city installation listing. Match the thermostat to the heat pump, its wiring, and any auxiliary heat controls. When those details aren’t clear, let a licensed HVAC contractor handle the installation and setup. Escondido and other inland North County houses are used here as examples of schedule and heat-load differences, not as a separate install product.
Why a heat pump thermostat is not the same as a furnace thermostat
A smart thermostat can fit the wall and still be wrong for the system. The product listing must support the exact heat pump configuration inside your home. A generic statement about HVAC compatibility isn’t enough.
Start with the model numbers on the indoor and outdoor equipment. Take clear photos of the thermostat terminals before removing anything. Then compare those details with the thermostat manufacturer’s compatibility guide. If the guide leaves room for interpretation, ask the manufacturer or a licensed HVAC contractor.
The contractor should confirm how the system changes between heating and cooling. They should also identify every available stage and control. That includes auxiliary heat, if the equipment has it. Zoned systems and manufacturer-specific controls need closer review.
Don’t choose by appearance or app ratings alone. Confirm that the thermostat can manage the equipment without bypassing a feature the system needs. Also check whether the proposed model requires extra hardware near the indoor unit.
This matters during both replacement and first-time installation. A thermostat that worked with an older furnace may not be the right controller for a replacement heat pump. The equipment documents settle that question, not the old thermostat’s appearance.
Our thermostat and controls service connects San Diego County homeowners with licensed independent pros. The pro can identify the equipment and explain the available control choices.
Auxiliary heat, and the setting that quietly runs up a bill
Some heat pump systems include an auxiliary heat source. When one is present, thermostat settings determine when that source is allowed to operate. A careless setup can call for auxiliary heat more often than the homeowner expects.
Before installation, ask the contractor to identify the auxiliary equipment. Get its name and model in writing. Then ask which thermostat screen indicates that it is operating. You should know what the display means before the next heating season.
The installer menu may include staging, lockout, or changeover choices. Those choices shouldn’t come from an online screenshot for another home. They must match your installed equipment and its manufacturer instructions.
Ask the installer to show you the final settings. Save photos of each relevant screen. If the thermostat later loses its configuration, you’ll have a record of the working setup. Keep that record with the indoor and outdoor equipment model numbers.
Your electric bill can help reveal a change in operation. Compare usage patterns before and after the thermostat replacement. Don’t rely on a single total without checking the billing period and current rate terms. SDG&E publishes its current rate information and plan details.
If auxiliary heat appears unexpectedly, don’t start changing hidden settings at random. Note the thermostat mode, displayed message, and recent schedule change. A licensed pro can compare those observations with the system documentation.
The C wire question in older San Diego homes
The thermostat manufacturer may require a C wire or an approved alternative. Don’t decide based only on the wire colors visible behind the thermostat. A wire in the wall may be unused, disconnected, or assigned differently at the indoor equipment.
Turn this into a documentation task. Photograph the existing terminal labels before anything moves. Record the thermostat model and the indoor equipment model. Ask the installer to confirm both ends of each control wire.
Don’t assume a home’s age or an Escondido address answers the C wire question. Past remodels, equipment changes, and thermostat replacements can leave a control setup that differs from the original installation. The wiring present today is what matters.
If the selected thermostat includes an adapter, confirm that the adapter is approved for that thermostat and your HVAC configuration. Ask where it will be installed and how it affects future service. Keep its instructions with the heat pump paperwork.
Avoid moving wires based on color alone. Terminal labels and equipment documentation provide the useful information. If labels are missing or don’t match, stop and let a licensed HVAC contractor trace the controls.
Wiring condition can also change the scope of the quote. Ask for separate line items covering the thermostat, any required adapter, control-wire work, and system setup. Our guide to thermostat replacement cost factors explains what to request without relying on an unsourced price range.
The best purchase happens after the wiring check. That order prevents buying a thermostat whose power requirements don’t match the available controls.
Features that matter here versus features that do not
Compatibility comes first. After that, focus on features you’ll actually use. Inland North County schedules, including Escondido, shouldn’t be copied blindly from coastal households. Your preferred settings should reflect when people are home, sleeping, or away.
A clear equipment-status display is useful. Look for a model that lets you see the active mode and any auxiliary heat call supported by your system. Accessible schedule controls also matter when you need to correct an unwanted change.
Remote sensors may help when the thermostat’s hallway location doesn’t reflect the occupied room. Before buying them, confirm how the thermostat uses sensor readings. Some products offer several choices, so read the manufacturer’s current instructions.
App control can be convenient, but check what remains available without the app. Review the manufacturer’s account, privacy, security, and software-support information. Those policies come from the manufacturer and can change.
Alerts and system history can support a service visit. They give you something specific to share with the contractor. Treat an alert as a clue, not a diagnosis.
Voice control, decorative screens, and automatic schedule changes are personal preferences. Don’t pay for them unless they solve a real need. A feature that changes settings without making the reason clear may be frustrating.
Build a short buying list before comparing models:
- Exact compatibility with the installed equipment
- Support for every connected stage and auxiliary control
- Clear scheduling and equipment-status screens
- Sensor support, if room temperatures vary
- Controls that remain understandable without guesswork
- Manufacturer instructions you can save for future service
That list will narrow the choices faster than comparing cosmetic features.
Setting it up so the compressor is not short cycling
Short cycling is a repeated pattern of brief starts and stops. If you notice that pattern, record it before changing settings. The timing and thermostat display can help a contractor separate a control issue from another system concern.
Start with a simple log. Note when heating or cooling begins, when it stops, the selected mode, and the displayed room setting. Include any alert shown by the thermostat. Don’t make several changes between observations.
The installer should review every timing or staging choice supported by the thermostat. Ask what was selected and why it matches your equipment. Don’t copy delay settings from another thermostat model or another house.
Keep the first schedule simple. Large, frequent setting changes can make it harder to understand what the system is doing. Once operation looks consistent, adjust the schedule around your household’s routine.
Also confirm that sensors aren’t sitting near an unusual heat source or strong draft. Ask the installer whether the thermostat location represents the area it controls. If relocation is proposed, request an itemized written quote covering wiring and wall work.
A thermostat isn’t the only item involved in system operation. Filters, indoor equipment, outdoor equipment, and controls should be considered together during troubleshooting. Follow the equipment manufacturer’s maintenance instructions, and keep the model-specific interval with your records.
Our heat pump maintenance guide explains what homeowners can observe between professional visits. If repeated cycling continues, leave the installer settings alone and schedule an inspection with a licensed contractor.
When to have the installer handle it
Have a licensed HVAC contractor handle the installation when the equipment configuration isn’t clear. The same applies when wires are unlabeled, auxiliary heat is present, an adapter is needed, or the system has multiple zones or manufacturer-specific controls.
The contractor should identify the equipment before proposing a thermostat. Ask for an itemized written quote showing the thermostat, adapters, wiring work, setup, and testing separately. Don’t approve vague language such as “install as needed” without knowing what’s included.
Request the exact thermostat model in writing. Then check its compatibility guide yourself. Ask who handles the product account, software updates, and manufacturer support after installation. Warranty terms come from the thermostat manufacturer and the independent contractor, so get those terms in writing.
The finished handoff should include:
- Photos of the final wiring and terminal labels
- Indoor and outdoor equipment model numbers
- The installed thermostat model
- A record of relevant installer settings
- Instructions for schedules, alerts, and auxiliary heat displays
- Written warranty terms from the responsible parties
Check the contractor through the California Contractors State License Board. Search the exact business name or license information supplied by the contractor.
Heat Pro SD is a referral service. We match homeowners with licensed independent heat pump pros and perform no physical work. The matched contractor evaluates the system, recommends compatible controls, and completes any agreed installation. The Heat Pro SD line is voicemail with a recording-consent notice.
When to call us
Call when compatibility, control wiring, auxiliary heat, or installer settings need professional review. A licensed independent pro can inspect the equipment and provide an itemized written quote. Leave a message at (858) 400-4374.