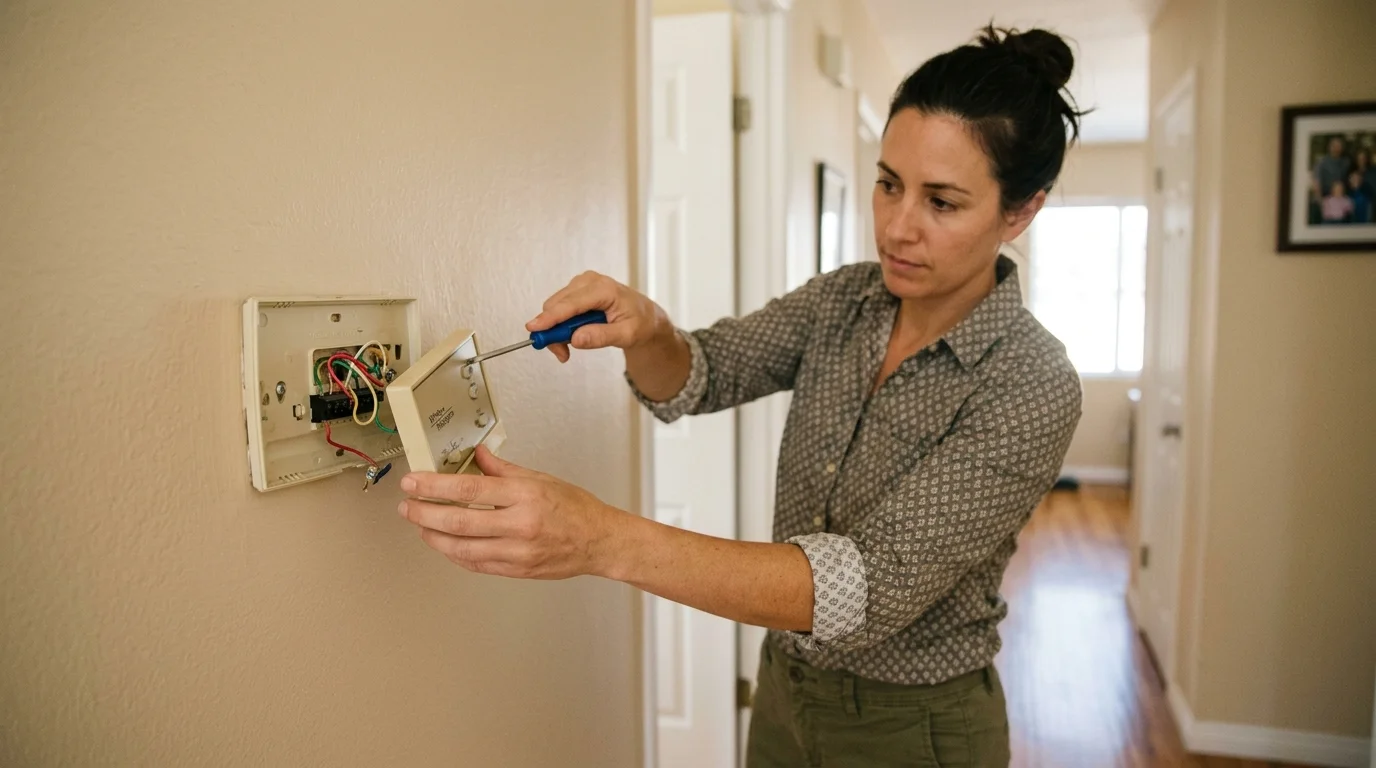
A heat pump that won’t start can look like failed equipment. Sometimes the trouble begins at the thermostat, its wiring, or its setup. In a Fallbrook house, as in the rest of San Diego County, confirm those details before replacing the outdoor unit.
The symptoms a bad thermostat and a bad heat pump share
Thermostat trouble and heat pump trouble can produce similar symptoms. The system may not start when expected. It may run without making the room comfortable. It might switch off early or appear stuck in one mode.
Those symptoms don’t identify the failed part by themselves. The thermostat sends operating requests, while the HVAC equipment responds to them. A problem anywhere between those points can make the entire system seem unresponsive.
Start by observing what happens at the wall control. Note whether its screen is blank, dim, frozen, or showing an alert. Check whether the displayed room temperature feels believable. Then listen for any response after changing the setting.
Don’t keep changing several settings at once. That makes the pattern harder to explain later. Record the current mode, fan setting, displayed temperature, and visible messages instead. Photos of the screen can also help a contractor understand what you saw.
Fallbrook homes can have very different layouts. A thermostat in a central hallway may represent the occupied rooms well. One near an exterior door, sunny wall, or added room may not. That distinction matters before anyone blames the outdoor unit.
If the thermostat appears normal but the equipment still won’t respond, move beyond surface checks. A licensed contractor can trace the control signal and inspect the heat pump. Our heat pump repair referral service can connect you with a local independent pro.
Dead batteries and the blank screen
A blank thermostat screen is easy to mistake for a larger failure. Before assuming the heat pump has stopped working, identify how that thermostat receives power. Some models use replaceable batteries. Others depend on wiring from the HVAC system. Certain models use both.
If the thermostat has an accessible battery compartment, check the model’s instructions. Use the battery type shown by the manufacturer. Confirm the batteries face the direction marked inside the compartment. A screen that returns afterward is useful evidence, but it doesn’t prove every control function is working.
A blank screen with good batteries needs a different response. Don’t start moving wires between terminals. The cause could be at the thermostat, along the control wiring, or inside connected equipment. Those possibilities require testing, not guessing.
Also check whether the thermostat face sits firmly on its wall plate. A faceplate that’s partly detached may not make proper contact. Press only where the manufacturer’s instructions permit. Stop if the plate is damaged or wiring becomes exposed.
Write down what happened before the screen went blank. A battery change, remodeling work, a power interruption, or a recent thermostat replacement can give the contractor useful context. Avoid treating any single event as proof of the cause.
If the display keeps going dark, ask for the thermostat and heat pump to be diagnosed together. Replacing the wall control without confirming its power source may leave the original problem untouched.
Wiring: the C wire and the loose terminal
Thermostat wiring looks simple because the conductors are small. The system behind those terminals can still be easy to misconfigure. Wire colors alone aren’t enough to confirm each conductor’s purpose.
Many electronic thermostats need a compatible power arrangement. You may hear a contractor discuss a C wire, an adapter, or another manufacturer-approved setup. The right choice depends on the thermostat and connected HVAC equipment. Don’t buy an accessory until the system has been identified.
A loose terminal can also interrupt a control request. So can a damaged conductor, an unused wire mistaken for a connected one, or a wall plate wired for different equipment. These conditions can resemble a heat pump failure from inside the house.
Visual inspection should stay limited. Don’t pull conductors from terminals or open HVAC equipment panels. Instead, photograph the terminal labels if they are already visible and safe to view. Keep each label readable. That picture is more useful than a list based only on wire colors.
Previous installation work matters here. If the trouble began after painting, drywall work, remodeling, or replacing the thermostat, tell the contractor. That sequence helps direct the inspection without pretending it proves the cause.
Ask for an itemized written quote before approving replacement work. It should separate the thermostat, any new wire run, compatible accessories, and equipment diagnosis. Our guide to heat pump thermostat replacement decisions explains what can change the scope without publishing an unsupported price.
Before hiring, verify the contractor through the California Contractors State License Board. Heat Pro SD makes referrals and performs no installation work itself.
Placement, sunlight and a thermostat that reads the wrong room
A thermostat controls from the conditions it senses at its location. That location may not match the room where you’re uncomfortable.
Direct sunlight can warm the thermostat face. Air from a supply register can affect the reading nearby. Exterior doors, open windows, kitchens, and enclosed hallways can also create conditions unlike the rest of the home. The thermostat may be responding to its immediate area rather than a failed heat pump.
This can become noticeable in Fallbrook when afternoon sun reaches a wall or window near the control. A house toward De Luz won’t necessarily have the same exposure or floor plan as one near South Mission Road. Placement needs to be judged inside the specific home.
Compare the pattern across several parts of the day. Note when the displayed temperature seems wrong and which rooms feel different. Record whether doors were open, cooking was underway, or sunlight reached the thermostat. Those details help separate a placement issue from an equipment issue.
Don’t relocate the thermostat based on one warm afternoon. Moving it may require a suitable wire path and a compatible mounting location. A contractor should also check whether the existing thermostat supports remote sensors or another approved control arrangement.
If relocation is proposed, ask why the new wall better represents the occupied area. The written scope should identify any wiring, wall repair, sensor, or control changes. It should also state who handles each part. That keeps a small control project from becoming an unclear open-ended job.
Configuration set wrong for a heat pump at installation
A thermostat can fit the wall and still be set up for the wrong equipment. Heat pumps don’t use every control terminal or operating mode the same way as other systems. The thermostat model must support the connected configuration.
A setup problem often becomes noticeable after a new thermostat is installed. The screen may work normally, but heating, cooling, fan operation, or mode changes may not behave as expected. That timing is a clue for the contractor, not final proof that the thermostat is defective.
Gather the thermostat model number and any installation paperwork you have. Also note whether the HVAC system includes another heating component. Don’t change hidden installer settings based on an online video. A setting that fits one system may be wrong for another.
The installing contractor can compare the thermostat configuration with the actual indoor and outdoor equipment. That review may include terminal assignments, equipment type, available stages, sensors, and manufacturer instructions. The contractor should explain any proposed change before saving a new configuration.
For a planned replacement, start with compatibility. Our thermostat and controls service helps San Diego County homeowners, including in Fallbrook, connect with licensed independent HVAC pros. The matched contractor can identify compatible options and provide a written scope.
Keep product features separate from system requirements. Phone apps, schedules, and remote access may affect your selection. They don’t replace correct equipment setup. Ask which features need extra wiring, accessories, or account registration before choosing a model.
A five-minute check before you book a repair
A short surface check can give a contractor better information. It isn’t a substitute for electrical testing or equipment diagnosis. Stop when a check requires removing wires or opening HVAC panels.
Use this sequence:
- Confirm the thermostat is set to the intended heating or cooling mode.
- Check whether the display is readable and responding to ordinary controls.
- Look for visible alerts, battery symbols, or error messages.
- Confirm the thermostat face is seated on its wall plate.
- Note whether nearby sunlight, airflow, or an open door affects the area.
- Photograph the screen, model label, and safely visible terminal labels.
- Write down what changed before the problem began.
Don’t reset the thermostat until you’ve recorded its messages and settings. A reset may remove information the contractor could use. Don’t move wires to copy an online diagram. The connected equipment, not the wire color, determines the correct arrangement.
When requesting a quote, describe the symptom instead of prescribing a replacement. Say whether the screen is blank, the room reading seems wrong, or the issue started after installation. Ask the contractor to confirm thermostat compatibility and equipment response.
Request an itemized written scope. It should show whether the recommendation involves configuration, batteries, wiring, relocation, a new thermostat, or heat pump diagnosis. If the scope expands, ask what changed and why.
Heat Pro SD doesn’t diagnose or perform the physical work. We connect homeowners across San Diego County with licensed independent pros. The contractor you choose is responsible for inspecting the system and recommending the repair.
When to call us
Call when the screen stays blank, exposed wiring is present, or the equipment doesn’t respond after basic surface checks. Those conditions need diagnosis by a licensed HVAC professional. Stop before moving wires.
Heat Pro SD matches homeowners with licensed independent HVAC pros and performs no physical work. The Heat Pro SD line is voicemail with a recording-consent notice. Leave a message at (858) 400-4374.